I know every website will tell you that onigirazu is like making sushi but easier but it still takes SOME effort to get the hang of making these stacked rice sandwiches. That being said they’re perfect for lunch and you can fill them with whatever you want in my variation they’re packed with lots of vegetables and a spicy-chili mayo but these are good with canned tuna, breakfast fixings, leftover cooked ground meat or anything you can think of.
Onigirazu

Make sushi rice: Rinse rice in a bowl until the water runs clear (usually 2-3 washes) then drain rice very well.
Add rice and water to a pot then turn heat to the lowest setting and allow to cook for 18 minutes (you can use a rice cooker instead of a pot if you have one).
Put the vinegar, sugar, and salt in a microwave safe bowl and microwave for 20-30 seconds until the sugar is completely dissolved then pour this mixture over the cooked and still hot rice, mixing with a rice paddle or soft spatula until it is evenly distributed. Allow the rice to cook enough to be handled.
Once the rice is cool, place a piece of plastic wrap on a clean counter then on top of the plastic place a sheet of nori with the shiny side down.
NB: For each onigirazu you'll use about 200g of cooked rice, split into two portions.
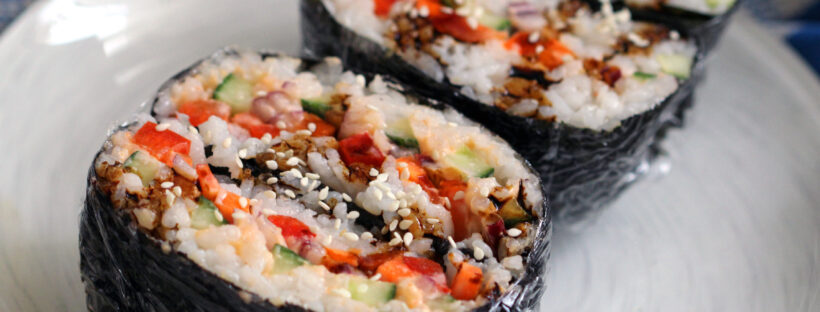
To assemble: First take 100g rice shaped with wet hands into a square in the middle of the seaweed, then top with mayo, sriracha, and sesame seeds. On top of that place the carrots, avocado, onion and cucumber.
Create a second square of rice pressed between wet hands to place on top of the vegetables and press gently to close. Fold the corners of the seaweed towards the center and over the filling to create a small closed packet.
Wrap the cling film around the packet and let sit for 20+ minutes before cutting at a diagonal to the way you arranged the ingredients.
3 thoughts on “Recipe: Onigirazu”